After trying most of the available music player softwares I ended up choosing Volumio. It's installation and configuration is mostly straight-foward. Some of the features on my requirements list needed some extra work. Here is an executive summary of what I did.
Base System
Go to the official Volumio web site and grab their latest release of the software for your target hardware (e.g. the Raspberry Pi in my case). The image needs to be written onto the SD card. I used Win32DiskImager, which is simple and does it's job.
Put the SD card into the Pi, connect the Pi to your local network over Ethernet, and power up the device. If you have a display to spare, consider hooking it up since it will allow you to monitor the boot process before the SSH and web server are initialized, which may provide very helpful debugging information in case something does not work as expected. On first boot, Raspbian will expand the file system to use the entire available space on the SD card so don't be surprised if that takes a couple of extra seconds. After a successful boot you will be able to connect to Volumio using your web browser by navigating to http://volumio/. Furthermore, you can connect through SSH using volumio as both username and password.
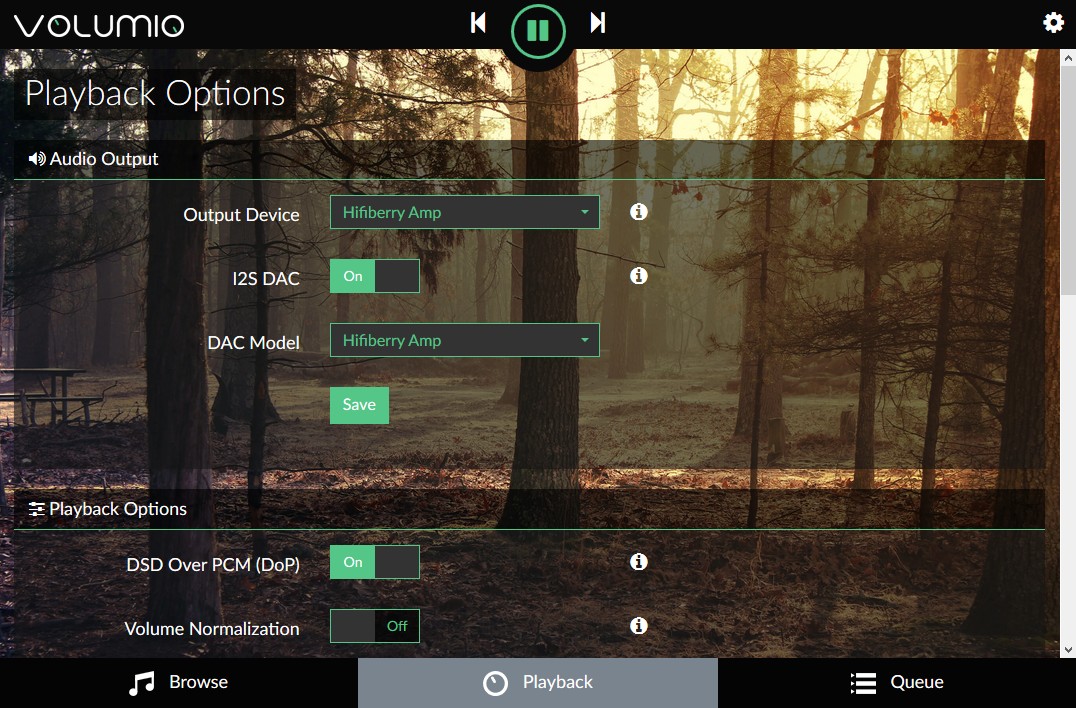
The first things to configure are the intended network and audio setup. If you intend to use WiFi, you can configure SSID and password on the Network settings page. I personally recommend to disable the Hotspot option in any case since I see it as a potential security issue. For the audio setup you will need to open the Playback Options. If you use the HifiBerry AMP+, enable the I2S DAC support and select it as DAC model and output device. Enabling I2S will require a reboot of the device.
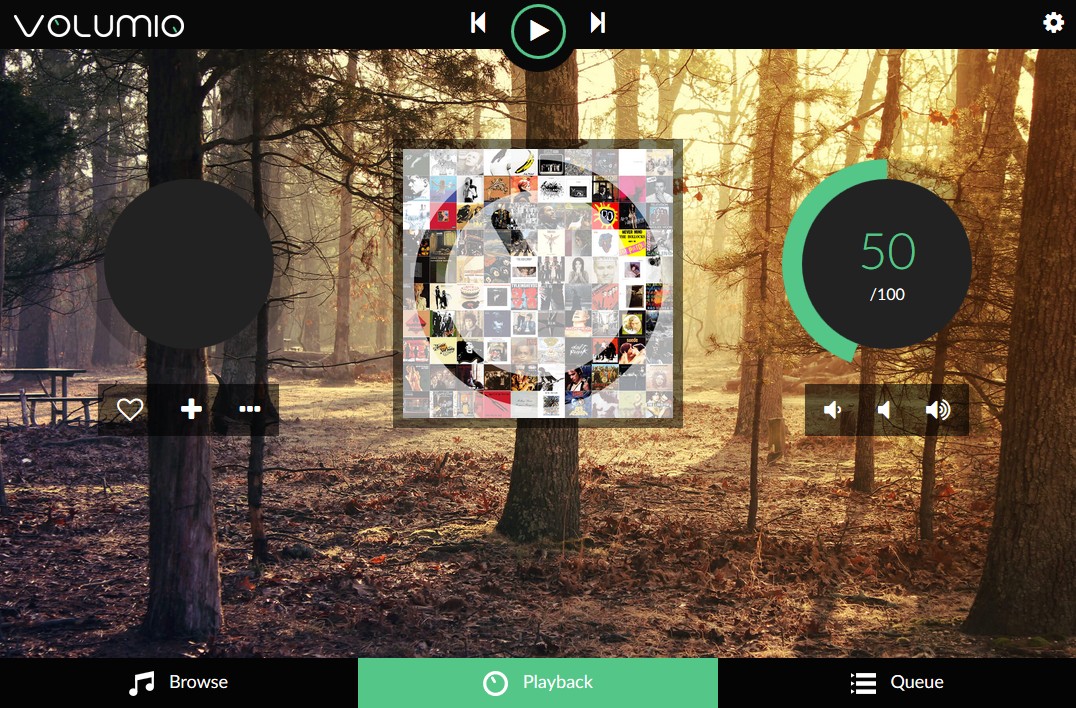
Especially if you are using an integrated amplifier and passive speakers, make sure to set a reasonable maximum volume that won't ruin your speakers. While configuring Bluetooth I managed it twice to misclick ending up with Volumio suddenly playing the music at full power. This did not only make my speakers suffer (the 2x25W of the AMP+ are surprisingly powerful) but also my neighbors (it was way past midnight)...
My safe guard now looks like that: Volumio uses the Master mixer control to change the volume and uses 90 as maximum volume level. Furthermore, I ran alsamixer through SSH and set the secondary Channels mixer control to 75, which ensures that even if the master volume is at its maximum my speakers are still safe (both mixers control the final volume). Of course, your amplifier/speaker setup might need a different setup.
Helpful Plugins
To get the maximum out of your music box I recommend installing a couple of Volumio plugins.
Spotify
The Spotify plugin integrates Spotify into the Volumio music library. It provides access to your personal Spotify playlists as well as to Spotify's featured and Genres/Moods playlists. Furthermore, the search function of Volumio searches both your local library and Spotify. However, the basic Spoitfy plugin will *not* provide Spotify Connect functionality. This will need a separate plugin (see below).
You can install the plugin directly on the Plugin settings page through the official repositories (Search Plugins / Music Services). The installation will take some time. After the installation has finished you will need to enter your Spotify account details into the plugin settings and then you're good to go.
Spotify Connect
To enable Spotify Connect support for your music box you will need a second Volumio plugin, which is not provided by the official repositories. I recommend to have a look at balbuze's Github repository, which provides two different plugins for this functionality. After trying both, I recommend the volspotconnect2 plugin since it does not rely on obscure/deprecated Spotify API keys and provides a better experience overall.
The installation is rather straight-forward. Simply drag-and-drop a ZIP archive with the plugin folder into the Upload Plugin drop area in Volumio and wait for the installation to finish (again, it will take some time to install all needed packages). On the settings page of the plugin, you should enable the Shared Device option - this is a rather poor translation of using the Spotify credentials from the other Spotify plugin.
Unfortunately, there is one inconvenience with the Spotify Connect integration: Since it does not use MPD for playback but it's on application, both Volumio and librespot fight for the same audio resource. Since the HifiBerry AMP does not support hardware mixing and I was not able to configure ALSA (or MPD and librespot) to use software mixing. Thus, you cannot have concurrent audio playback from both sources (you will notice this by the fact that you can't connect to Spotify Connect while Volumio is still playing).
Autoplay
Another handy plugin that I installed is Autoplay, which will automatically start playing the first item of the queue after boot. You can find it in the official Volumio Plugins Github repository. Installation is straight-forward and there are no settings to be configured.
Miscellaneous
Volumio's general user interface is quite intuitive, however, there is one particular feature that took me some time to find: adding custom web radios. Though the default library is coming with a collection of several hundert web radio stations, my favorite local station was not included (actually I would have been surprised if that was the case). In order to add new stations, you navigate to Browse and click on the burger icon next to My Web Radios. In the popup menu you can select Add Webradio. Voilà.